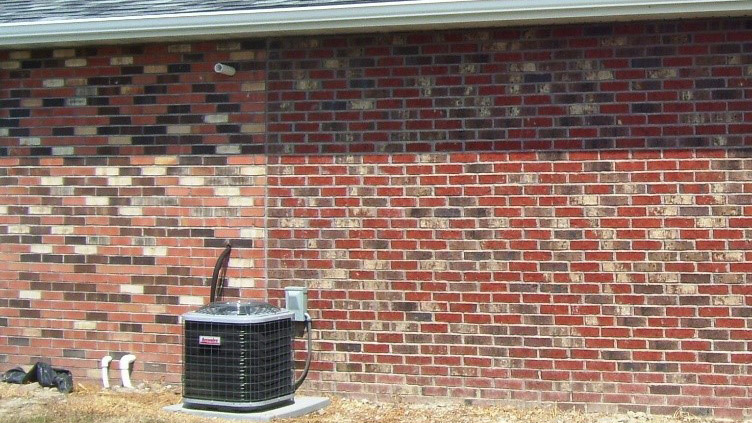
Shown is a result of poor planning. The wrong colors and textures were chosen.
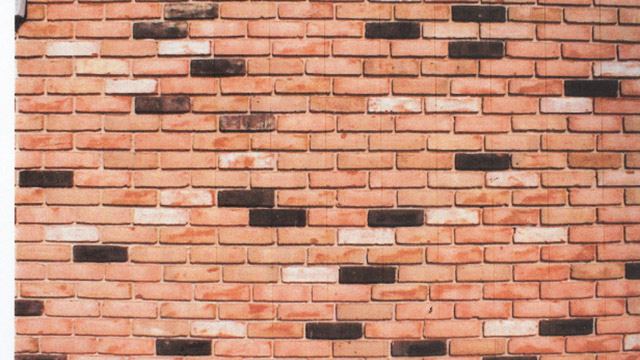
This is a perfect example of a blend that would be difficult for a manufacturer to repeat.
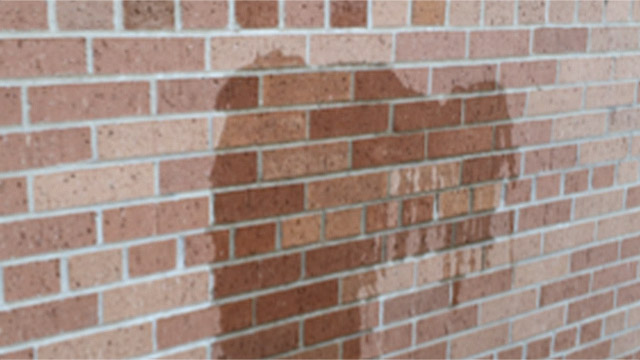
These bricks absorb water and darken. They are good candidates for stain.
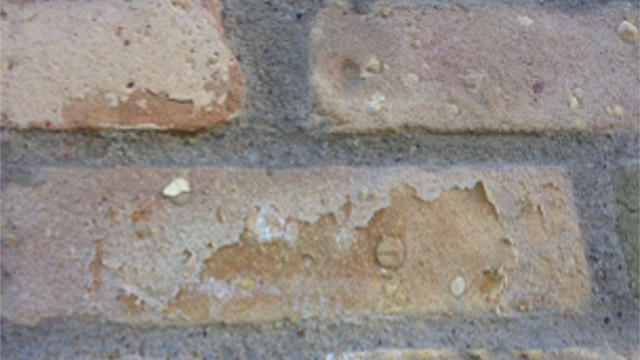
Just a few years after the application of a masonry stain that was not proven…
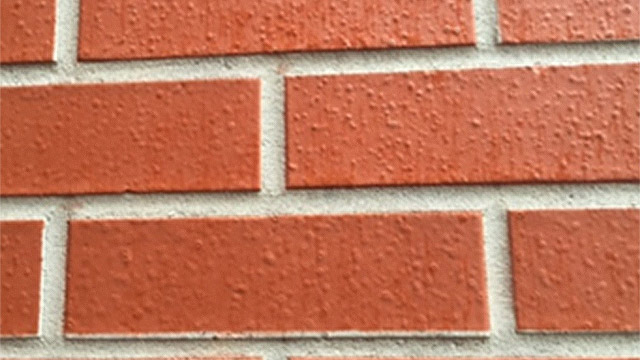
Here's a paint-like product applied less than two years earlier. Note the blisters formed in the coating, and the single-tone color. Even the mortar has a paint-like product on it. These are not proven masonry stains.
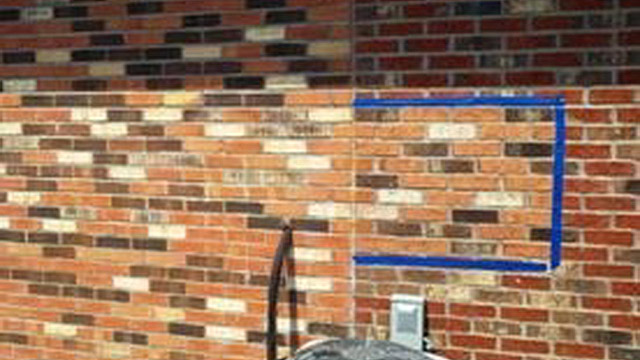
In the blue-taped area is an example of how a staining sample can be represented or viewed for approval by the owner.
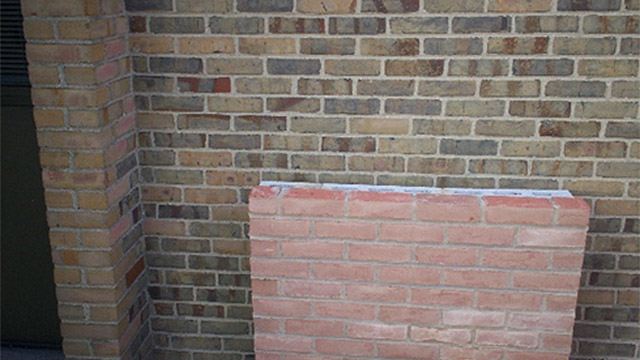
Here is a donor brick that was chosen for its size and texture to be stained per the architect’s instructions.
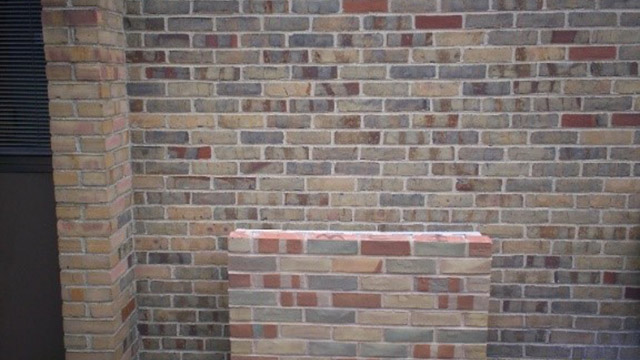
Here, the same test panel is in the process of being stained. This process is very flexible and allows for input from the owner and the architect.