Herald of Helicals
Words: Darcy Boyle
Words and Photos: Darcy Boyle, PROSOCO
John Montecalvo is on a mission to spread the good news about helical beaming and its ability to minimize life safety hazards and wall restoration costs.
Each year, our national building stock grows one year older and either one year closer to needing repair, or another year overdue for it. Restoration efforts are underway to update a fraction of these buildings; the vast majority remain in need of upgrades – for aesthetic improvements, mitigation of hazardous life safety conditions, or both.
A recent survey from The Campaign for Historic Trades says that close to 2 million commercial buildings, 35 million residential buildings and more than 2 million multi-family structures in the U.S. are more than 50 years old.
Obviously, the biggest priorities for repair are the ones where life safety is a concern. While it’s not incredibly common for chunks of brick and other masonry materials comprising a building’s façade to fall off a building and harm property or worse -- pedestrians, it does happen, and it’s a nightmare of liability for building owners and contractors alike.
Mason contractors, particularly ones specializing in restoration, are likely familiar with some common methods used to repair failing brick facades – such as shoring, needling or removing entire portions of cladding and re-laying courses of brick.
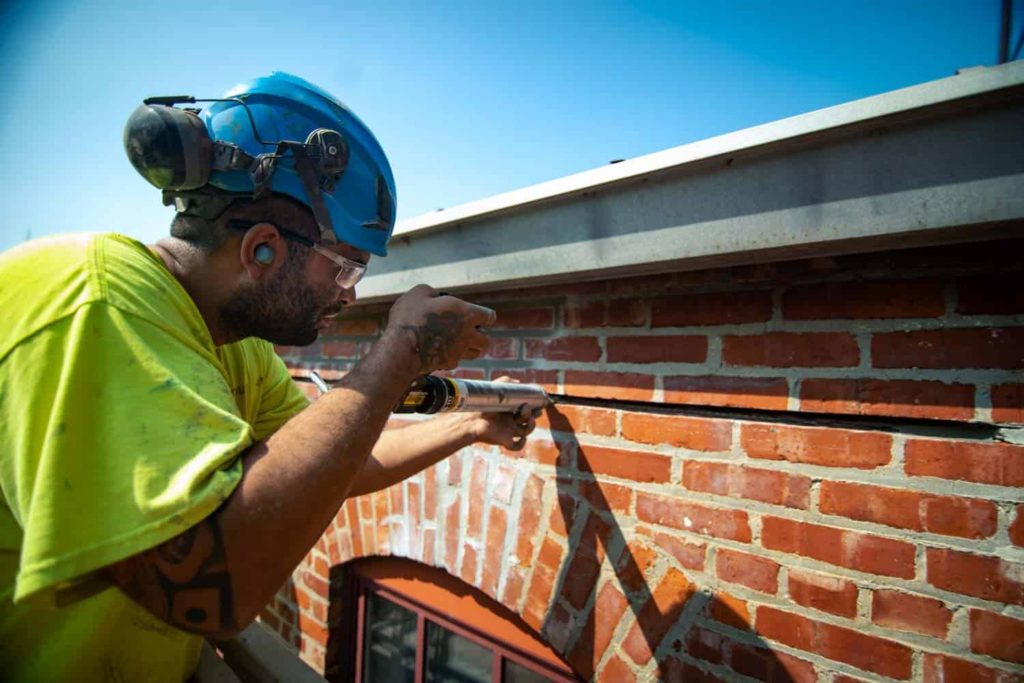
These techniques may be time-tested, but they are also time-intensive. John Montecalvo, technical specialist for PROSOCO’s masonry anchor division, wishes a process called helical beaming was instead the more commonly accepted and utilized method for mason contractors today. That’s because it saves significantly on both time and costs, allowing contractors to reduce life safety hazards and restore our aging building stock at a much quicker pace.
According to Montecalvo’s calculations, replacing a steel lintel and three courses of brick would cost around $195 per lineal foot, and helical beaming applied to the same scenario would cost $70 per lineal foot. Using a traditional method to replace a lintel and brick on a 5-foot window would cost $975, or $350 if you were to employ helical beaming. With a cost savings of more than 50%, why aren’t more contractors choosing this method? It comes down to awareness and education, and Montecalvo is on a mission to reach as many contractors as possible with this application he calls a no-brainer.
What is Helical Beaming?
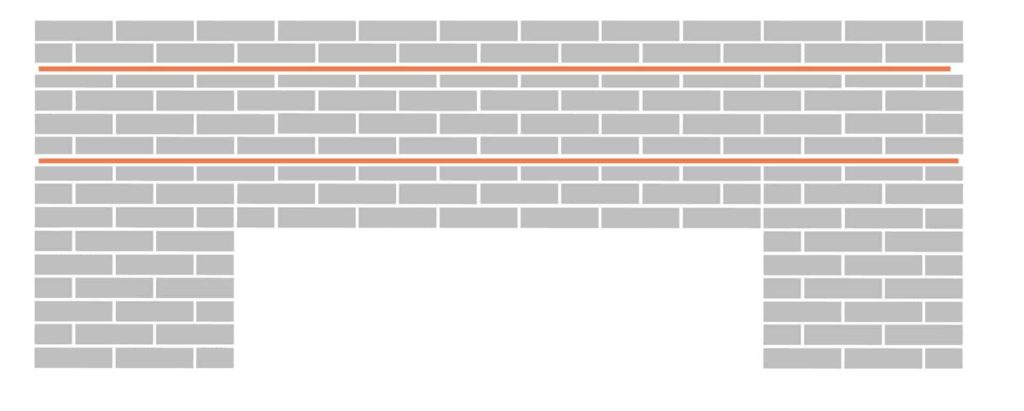
Helical beaming is a technique to restabilize a building’s structure where the masonry has failed and lost some or all of its load-bearing capacity. Appropriate applications could include flashing repair, sagging lintels and lintel replacements. It’s formed by reinforcing two separate lengths of mortar beds with two Stitch-Tie Bars each, embedded in a special type of grout called SureGrout S. The process reinforces areas of masonry to produce composite brick beams, allowing the masonry to span over openings. In multi-wythe construction, helical beaming can provide further strength if installed on both the interior and exterior wythes.
Helical beaming is fully concealed, leaving repairs virtually undetectable post-installation. That’s because the beaming is set back into the joint, allowing the repointing to be done with mortar that matches existing joints in the wall. It’s also a safer method than shoring because it strengthens the wall before existing bricks are removed.
How To Do It
Step 1: Equip yourself with the specified lengths and distances apart for the helical beams to be installed. (An engineer or architect can help you with this part.)
Step 2: Measure the wall according to their specs.
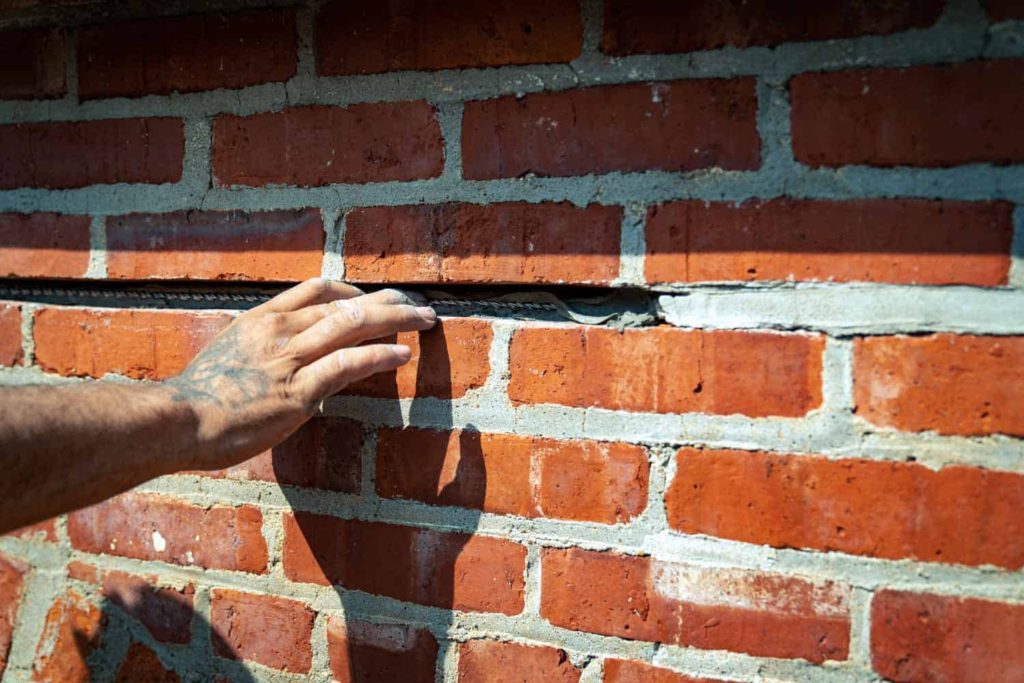
Step 3: Cut two slots 1.5 inches deep to the desired length and distance apart from one another.
Step 4: Clean out all the loose mortar and debris from the slots and thoroughly flush with water.
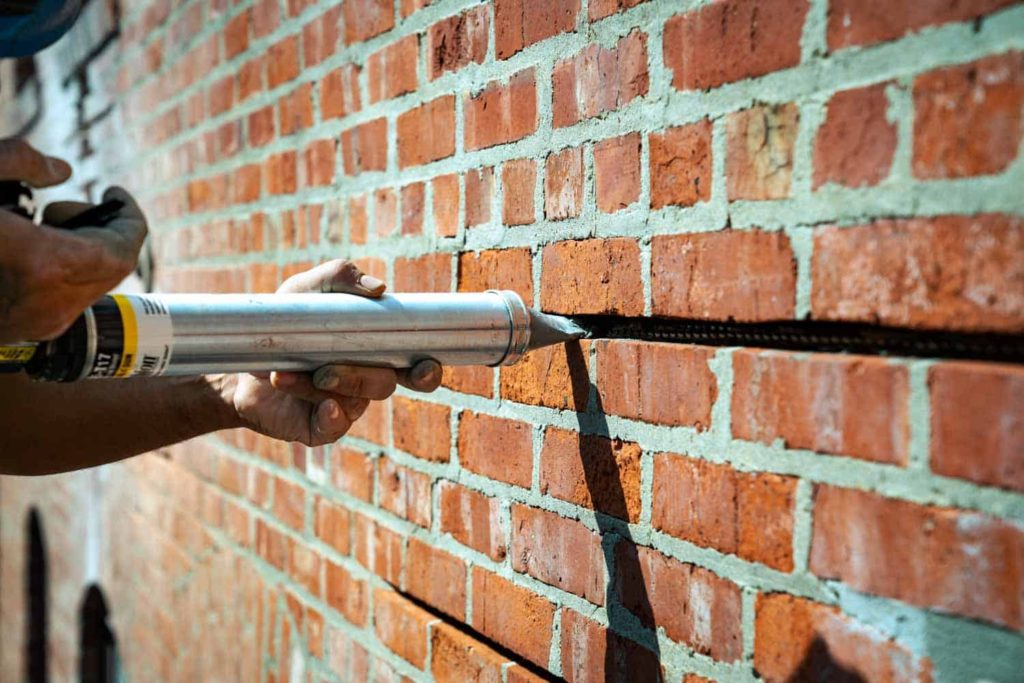
Step 5: Inject approximately a 3/8-inch bead of SureGrout S to the back of the slot.
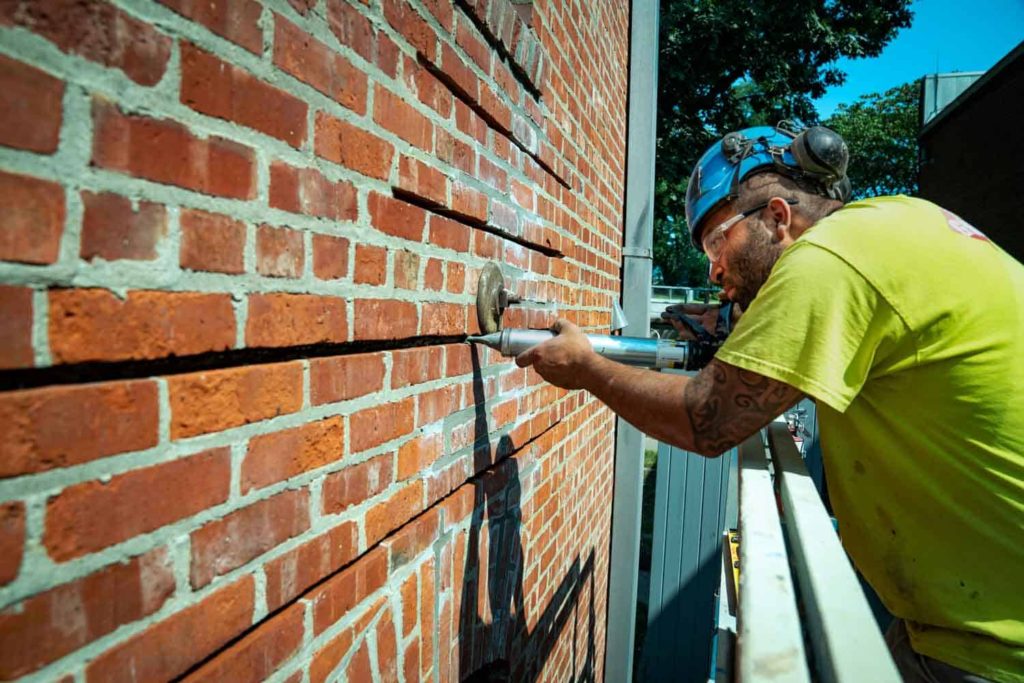
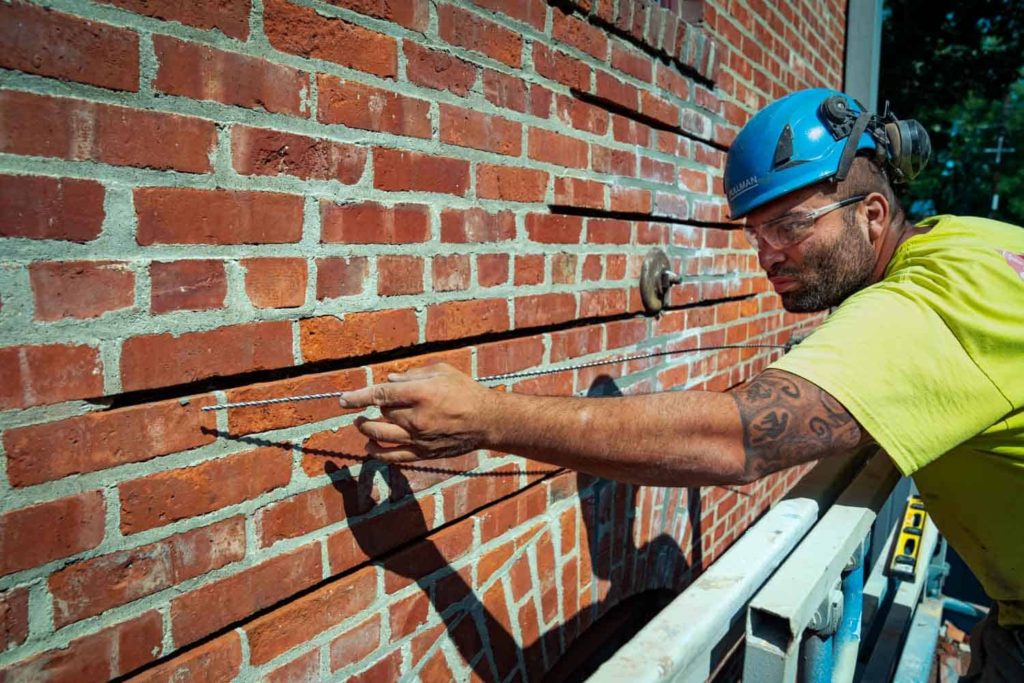
Step 6: Insert a Stitch-Tie Bar into the grout.
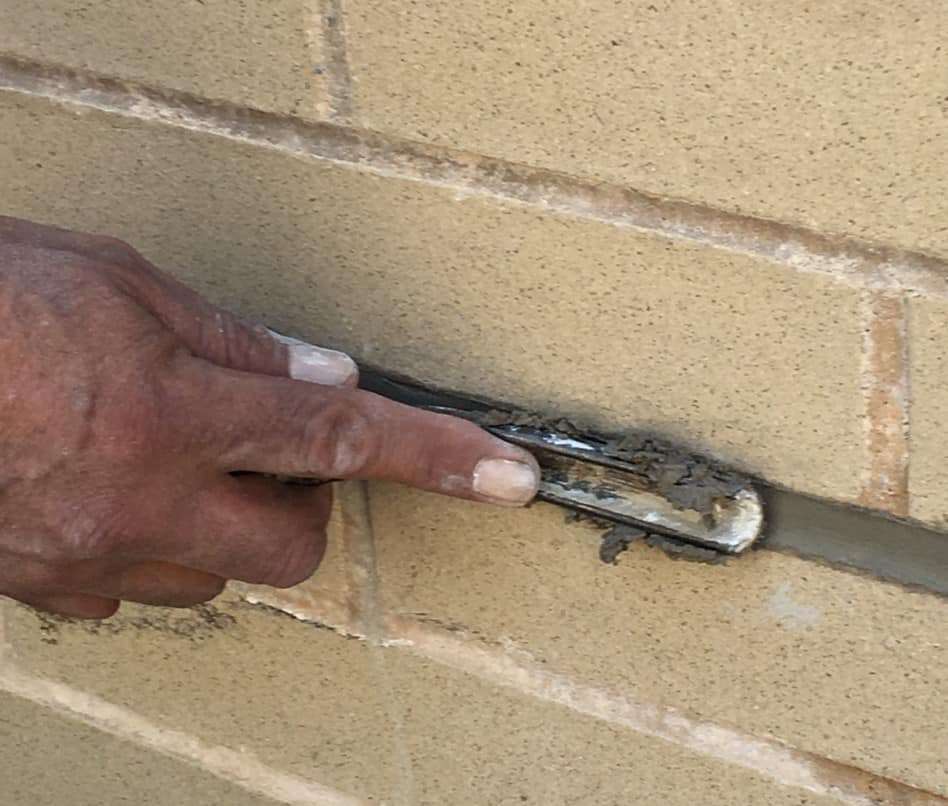
Step 7: Inject a second bead of SureGrout S (also 3/8-inch) over the bar and smooth it out with a flat-pointing tool.
Step 8: Insert a second Stitch-Tie Bar into the SureGrout S.
Step 9: Insert a final bead of SureGrout S (also 3/8-inch) over the bar.
Step 10: Smooth and compact the SureGrout S around the Stitch-Tie Bar using the flat-pointing tool, making sure both bars are fully encapsulated in grout.
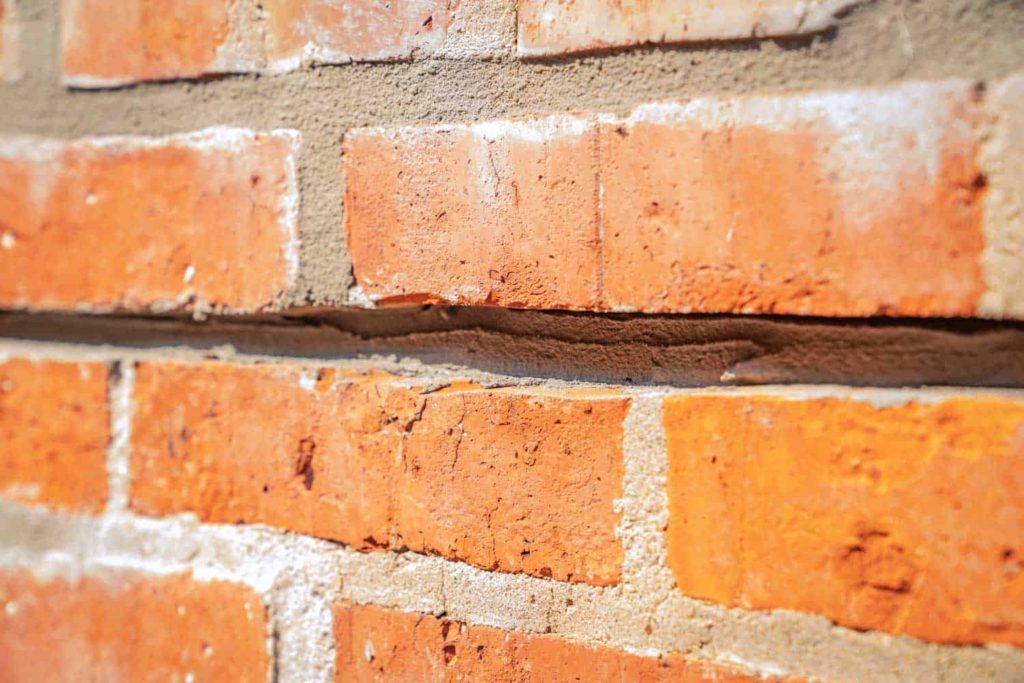
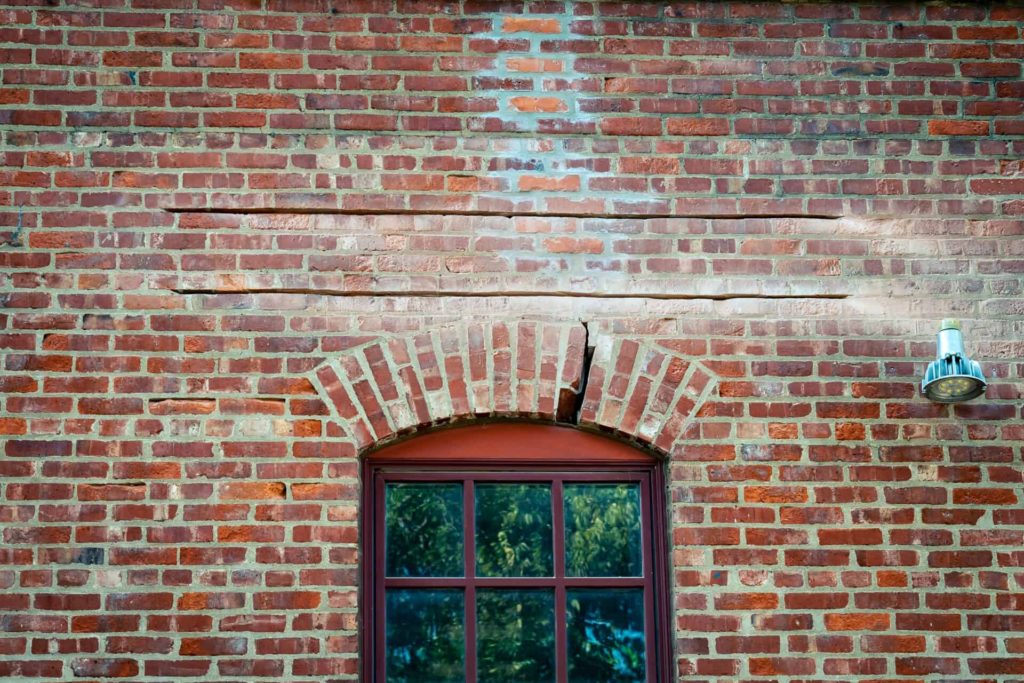
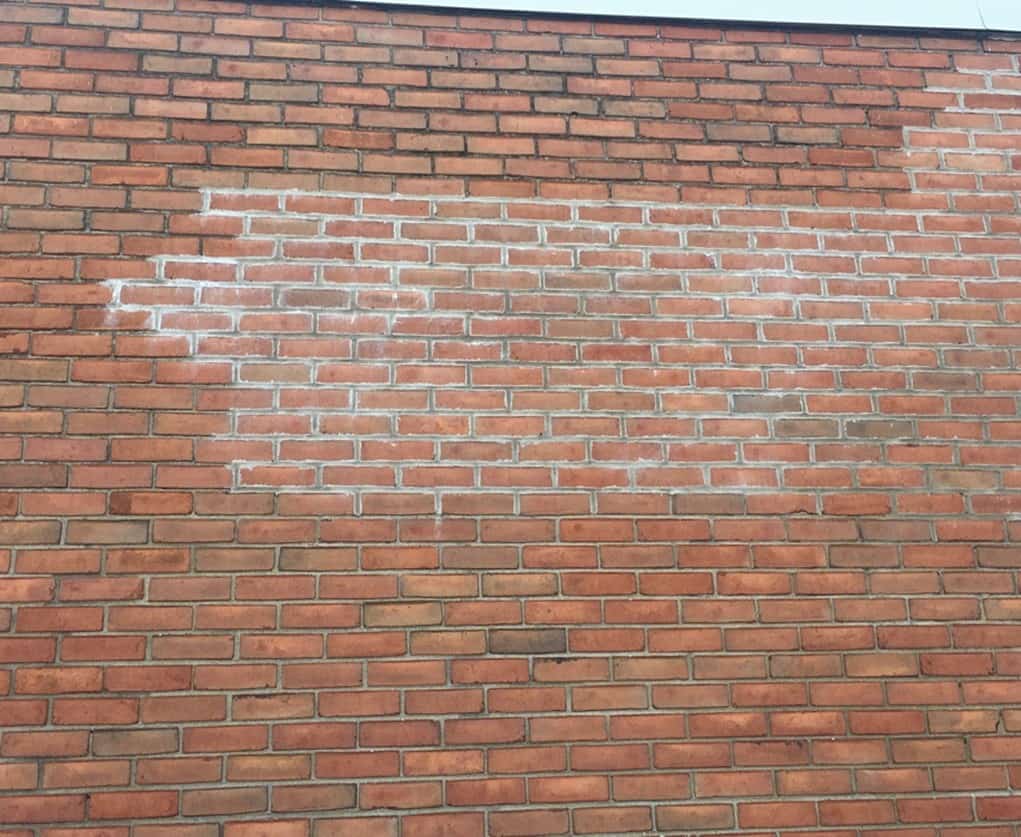
Step 11: Once the SureGrout S is thumb-print-hard, repoint the slots using an appropriate mortar to match the existing wall. (Mortar-matching is important because you don't want to end up with a wall that looks like this.)
Step 12: Repoint the joints.
Step 13: When mortar is cured, wash brick and mortar with a cleaner.
Want more information? Ready to book a free training? Get started here, or call PROSOCO at 800-255-4255.